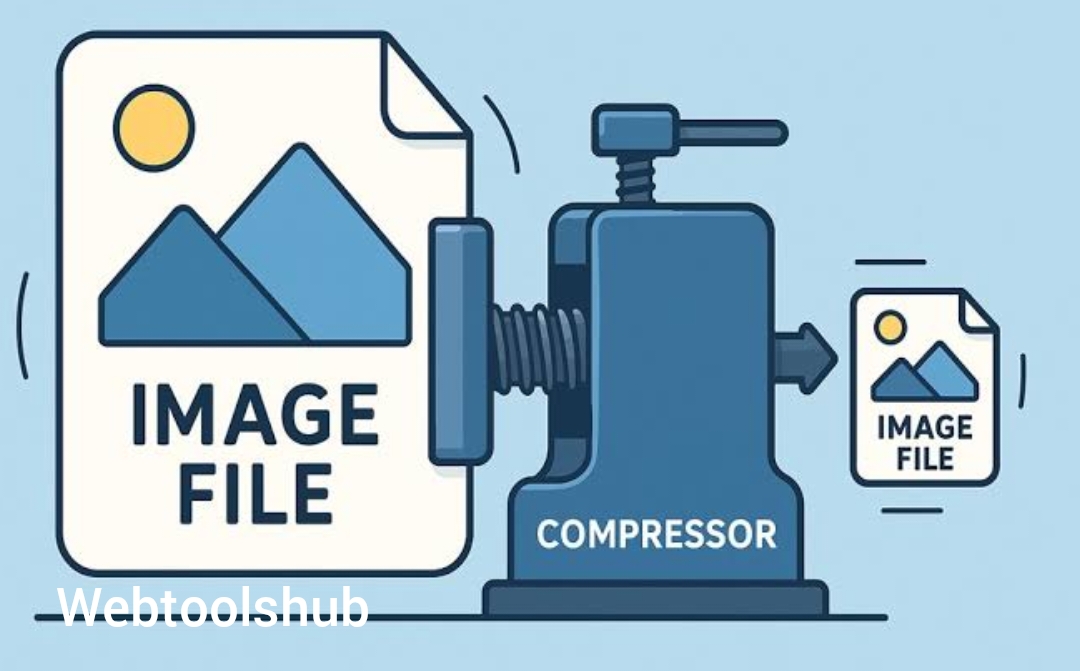
A practical workflow for reducing image weight through dimensions, format selection, compression and responsive delivery without damaging the visual result. This guide is written for people who want to complete the task correctly, understand the trade-offs, and know what to check before relying on the result.
What this task actually involves
How to Reduce Image File Size for Websites While Keeping Useful Detail is easier when the goal is defined before the tool or setting is chosen. The important variables are not just speed or output size; they include accuracy, compatibility, privacy, readability, repeatability and what the final file or result will be used for.
For a small website such as WebTools HUB, the useful standard is practical: a visitor should be able to understand the feature, complete the task, recover from common errors and verify the output without needing specialist knowledge.
When this workflow is useful
This approach is especially useful when you need a repeatable result rather than a one-off experiment. It also helps when several people share the same process, because a checklist reduces avoidable differences between outputs.
- pixel dimensions as the first lever
- format selection
- compression artifacts
- responsive variants
A practical step-by-step workflow
- Remove unnecessary metadata when your workflow allows it.
- Resize the image to a realistic display dimension.
- Select a web-appropriate format.
- Compress and inspect the result at normal viewing size.
- Measure the final file size and page impact.
What to check before you start
The first useful check is whether the input and the intended output actually match. For this topic, that means paying attention to pixel dimensions as the first lever, format selection, compression artifacts, and responsive variants. These are not separate SEO phrases; they are practical variables that can change the result.
It is also worth deciding what “good enough” means before processing anything. A private draft, a public-facing asset and an official document can have very different requirements for quality, privacy, compatibility and repeatability.
How the right choice changes by use case
For a personal task, convenience may be the main priority. For a business workflow, consistency, file naming and repeatability become more important. For a public website, accessibility, performance and predictable behavior matter as well. The same setting can therefore be appropriate in one situation and excessive in another.
When the output will be shared with other people, add one more verification step: open it outside the environment in which it was created. This catches problems such as missing fonts, unexpected page dimensions, broken links, weak contrast or device-specific layout issues.
How to troubleshoot a disappointing first result
If the first result is not useful, change one variable at a time rather than rebuilding the entire workflow. Common causes include optimizing only by percentage, shrinking dimensions after adding the image to the page, using the same quality setting for every image, and ignoring mobile layouts. Each problem should lead to a specific correction, followed by another check of the final output.
Keep the original input whenever possible. That gives you a reliable comparison point and prevents a low-quality intermediate result from becoming the only available copy.
Quality control that is easy to repeat
A useful quality-control routine can be short: confirm the input, perform the task, inspect the output, test the most important edge case, and record any setting that affects future results. This is especially valuable for websites and tool workflows because small changes can otherwise create silent regressions.
For WebTools HUB readers, the same principle applies to the site itself. A guide should explain the decision, the tool should perform the task, and the final result should be easy for a visitor to verify. Keeping those three layers consistent creates a better experience than adding more keywords or decorative sections.
How to judge the result
Do not evaluate the output only from the final download message. Open or use the result in the context where it matters. A document should remain readable, a QR code should scan from its intended distance, a web page should remain usable on a phone, and a technical SEO change should produce consistent URLs and crawlable pages.
Decision guide
| Area | What to check |
|---|---|
| Primary goal | Complete the task reliably |
| Quality check | Inspect the actual output |
| Performance check | Measure bytes, time or responsiveness where relevant |
| Safety check | Confirm privacy, permissions and input limits |
| Maintenance | Keep the workflow documented and repeatable |
Common mistakes and how to avoid them
- optimizing only by percentage
- shrinking dimensions after adding the image to the page
- using the same quality setting for every image
- ignoring mobile layouts
Privacy, accessibility and performance considerations
Good utility pages explain what happens to user input, especially when files, URLs or account-related data are involved. If processing happens in the browser, the implementation should actually match that claim. If a file is uploaded to a server, the page should explain the relevant processing and retention behavior.
Accessibility and performance are also part of the feature. Use readable text, keyboard-friendly controls, meaningful labels, stable layouts and appropriately sized assets. A technically correct tool is still frustrating if the interface is slow, confusing or difficult to operate on a phone.
Using the related WebTools HUB utility
For visitors who want to perform this task rather than only read about it, the Image workflow is the relevant starting point. The guide and the tool serve different purposes: the article explains decisions and checks, while the utility handles the practical operation.
Final verification checklist
- Confirm the output matches the intended task and format.
- Check the result on the device or workflow where it will actually be used.
- Look for missing content, broken links, layout problems or unexpected quality loss.
- Confirm that privacy and permissions match the way the feature is being used.
- Keep the original source when the task is destructive or difficult to reverse.
- Record any important settings so the process can be repeated consistently.
Frequently asked questions
What reduces image size the most?
Reducing unnecessary pixel dimensions can have a large effect because fewer pixels need to be stored and decoded.
Does lower quality always mean better performance?
Lower quality can reduce bytes, but excessive compression can make an image visibly worse. The goal is a useful balance.
Should I convert all images to WebP?
WebP is efficient for many images, but keep your browser and workflow requirements in mind.
Why are hero images often slow?
They are frequently large, high-resolution files loaded early in the page lifecycle.
Can lazy loading solve large images?
Lazy loading can reduce initial work for below-the-fold images, but the images still need sensible dimensions and compression.
Should thumbnails use the same file as full-screen images?
Usually not. Smaller components can use smaller image variants.
How do I verify an optimization?
Compare the old and new file sizes, visual quality and page loading behavior.
Should I keep original files?
Yes. Store a master copy outside the web delivery path when practical.